How to use migrations to create and modify the database schema
New Courses Coming Soon
Join the waiting lists
Migrations are excellent for handling changes to the database, so you can apply them, and roll back in case you need to restore to a previous state of your data.
From the terminal, stop the Laravel server and run this command to create a new migration, which is what we will use to create the database table(s) we need to use:
php artisan make:migration initial_table_creation
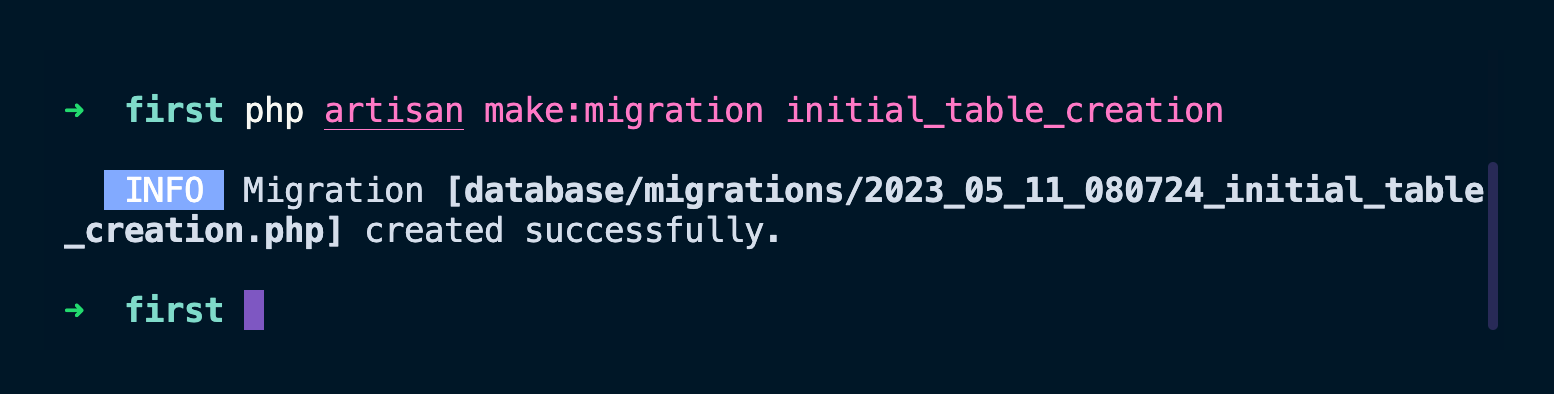
This command created the 2023_05_11_080724_initial_table_creation.php file (the date and time will of course change for you) in the database/migrations folder.
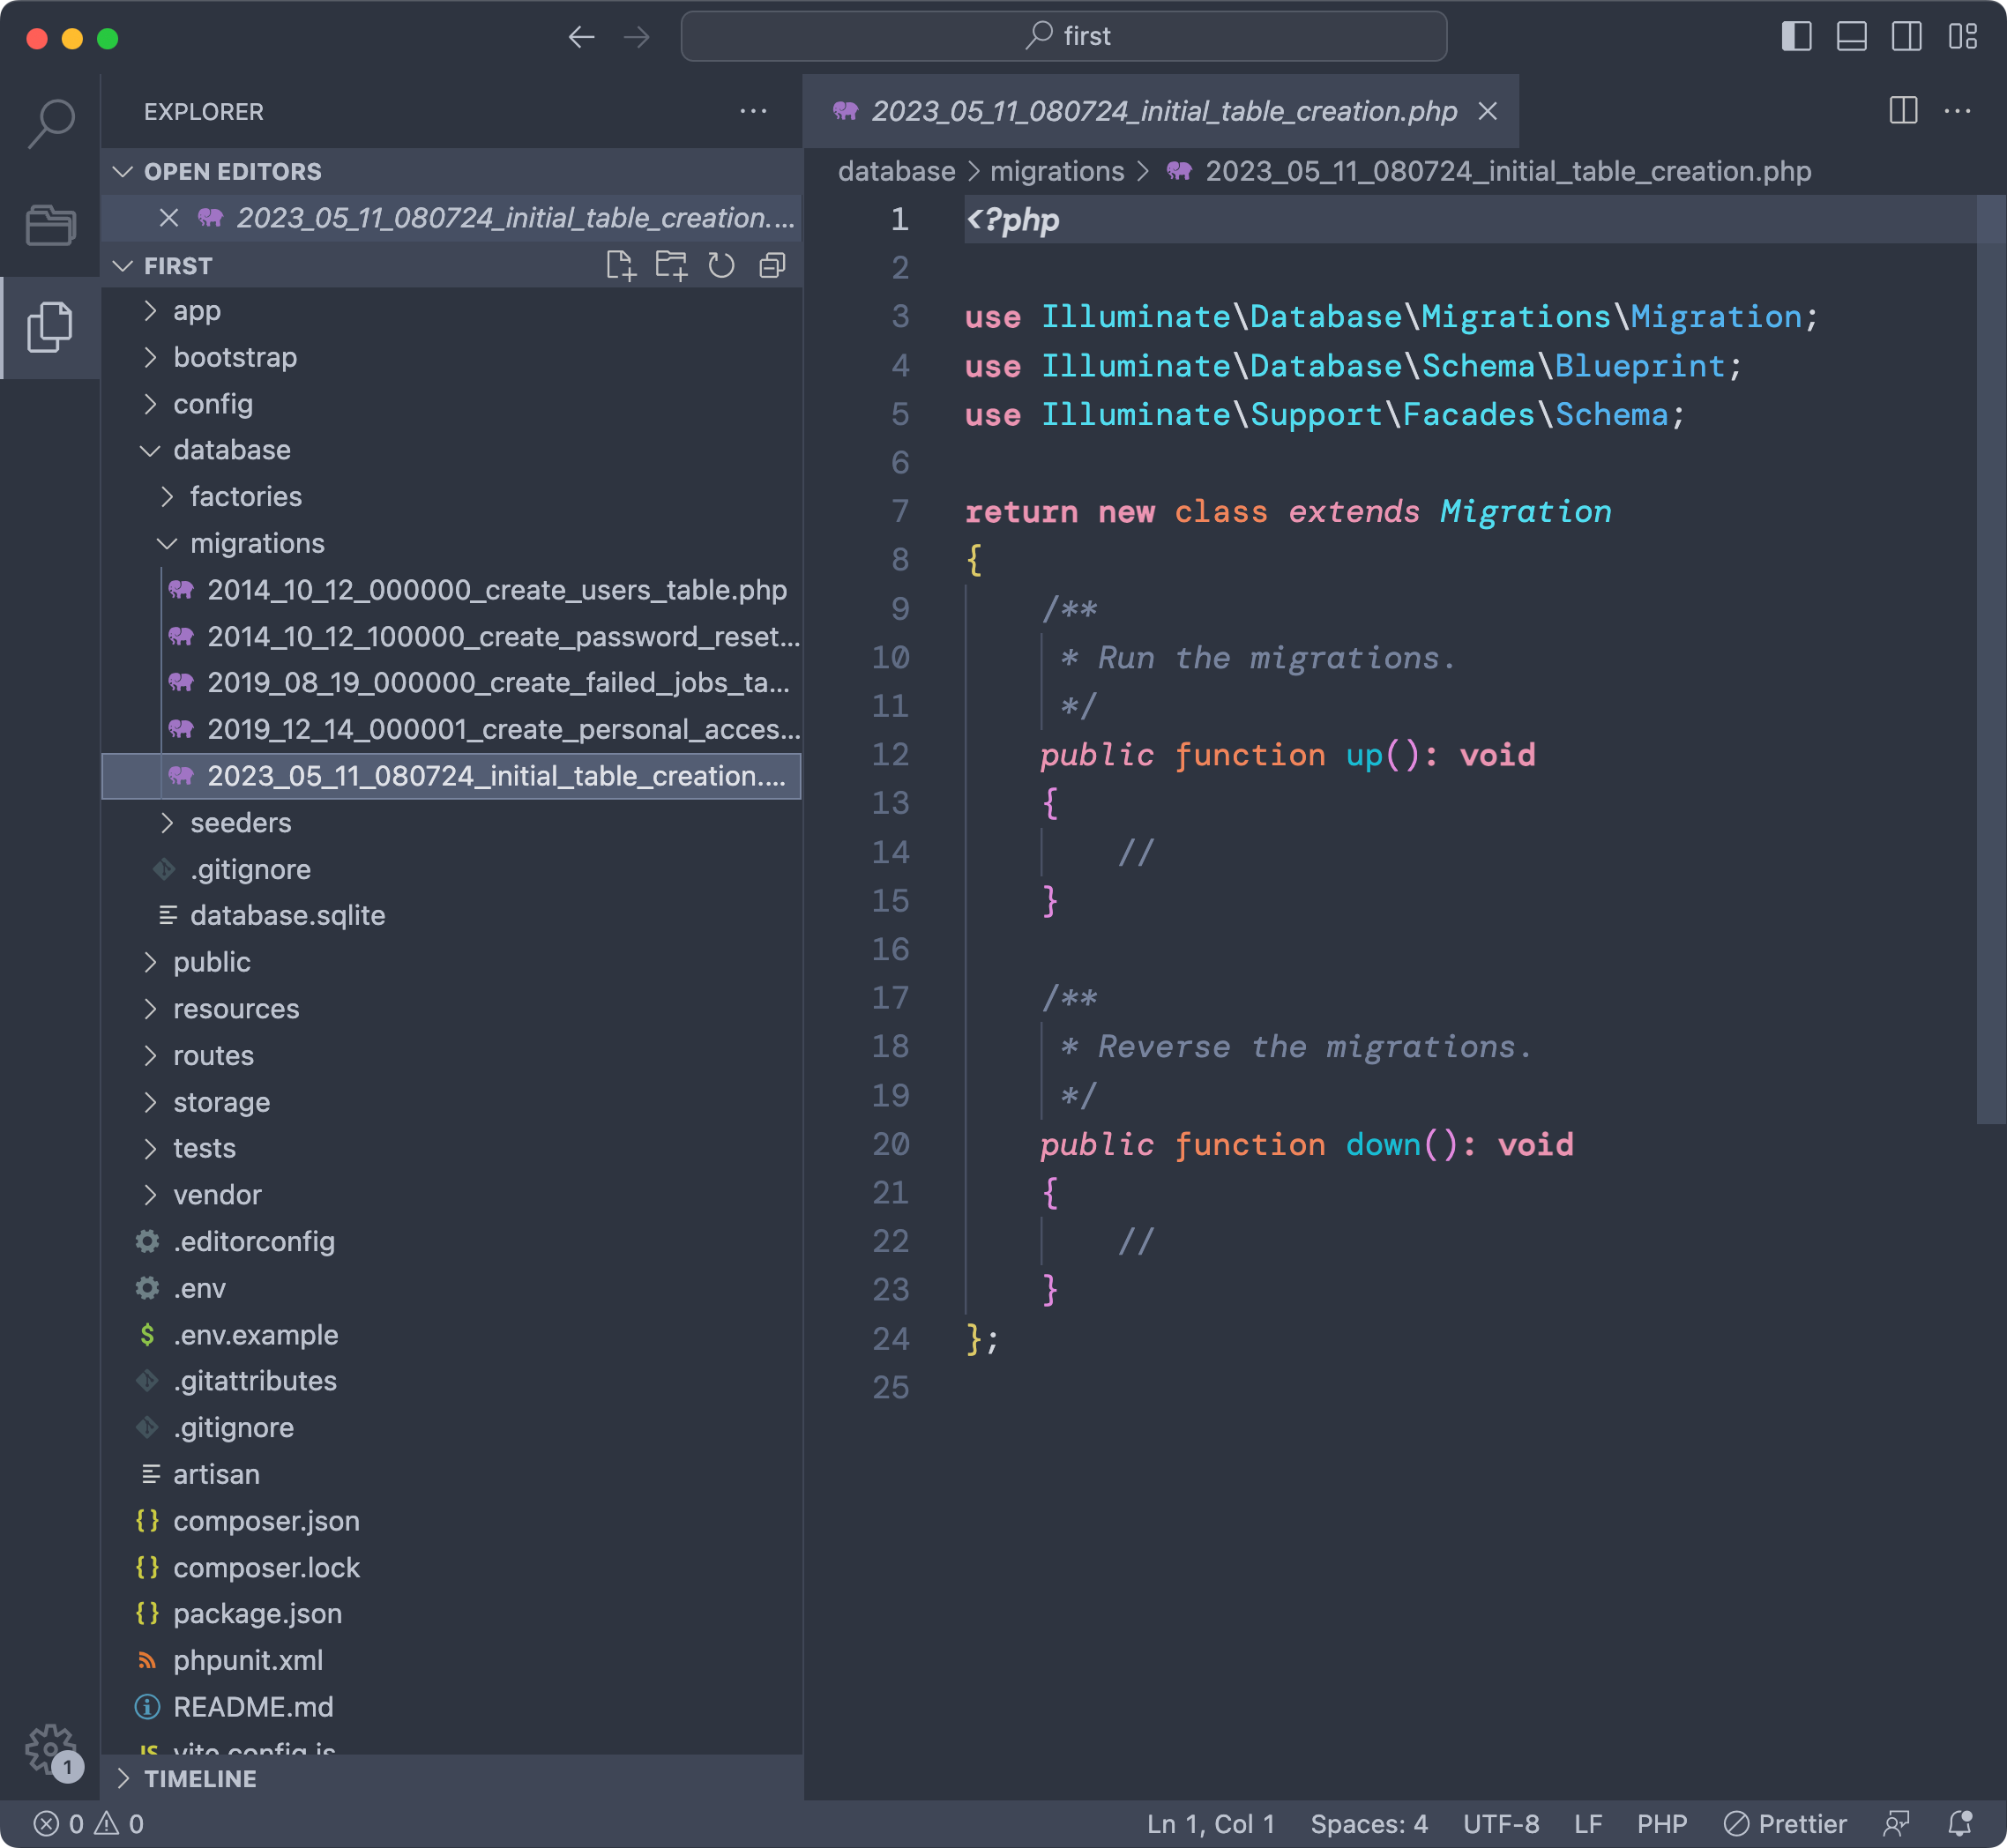
Notice there are other migrations, which are added by the Laravel framework itself for it’s authentication system.
But let’s focus on creating a new table, let’s call it dogs.
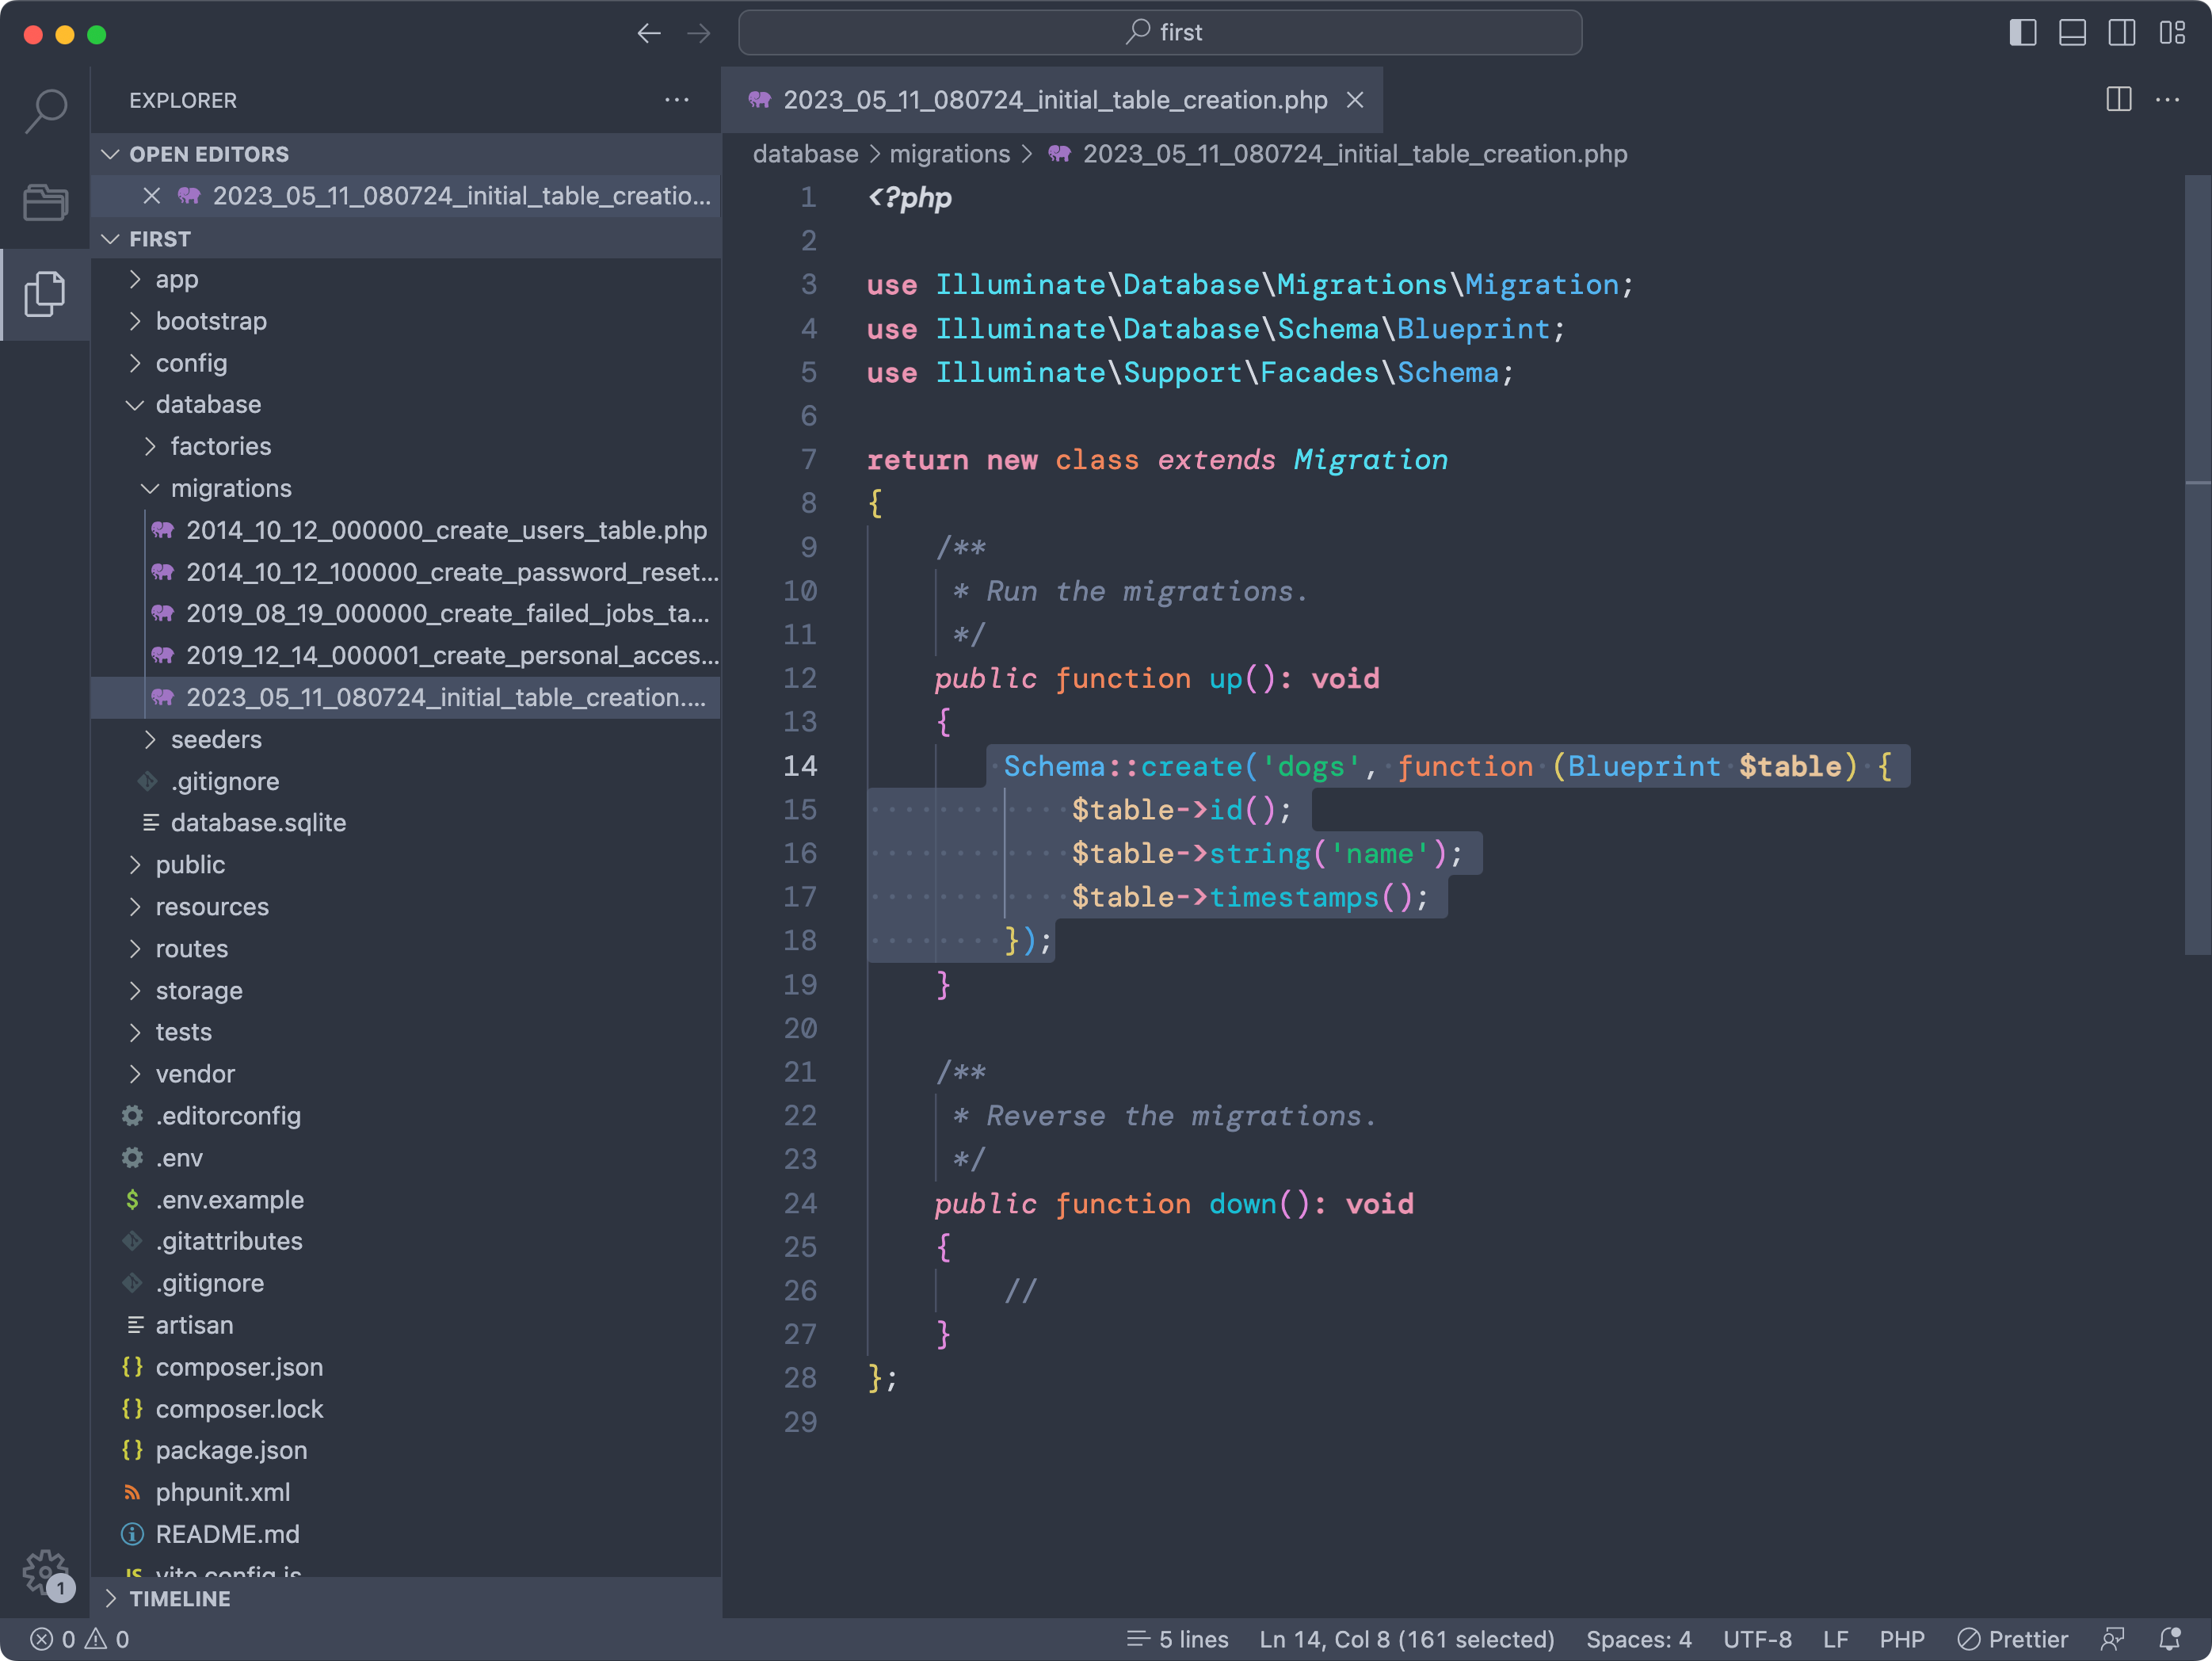
Go in the up() function of the migration we creataed.
Let’s create a dogs table with 3 columns, an id, a name string and the timestamp utility columns (created_at and updated_at, as we’ll see).
Schema::create('dogs', function (Blueprint $table) {
    $table->id();
    $table->string('name');
    $table->timestamps();
});
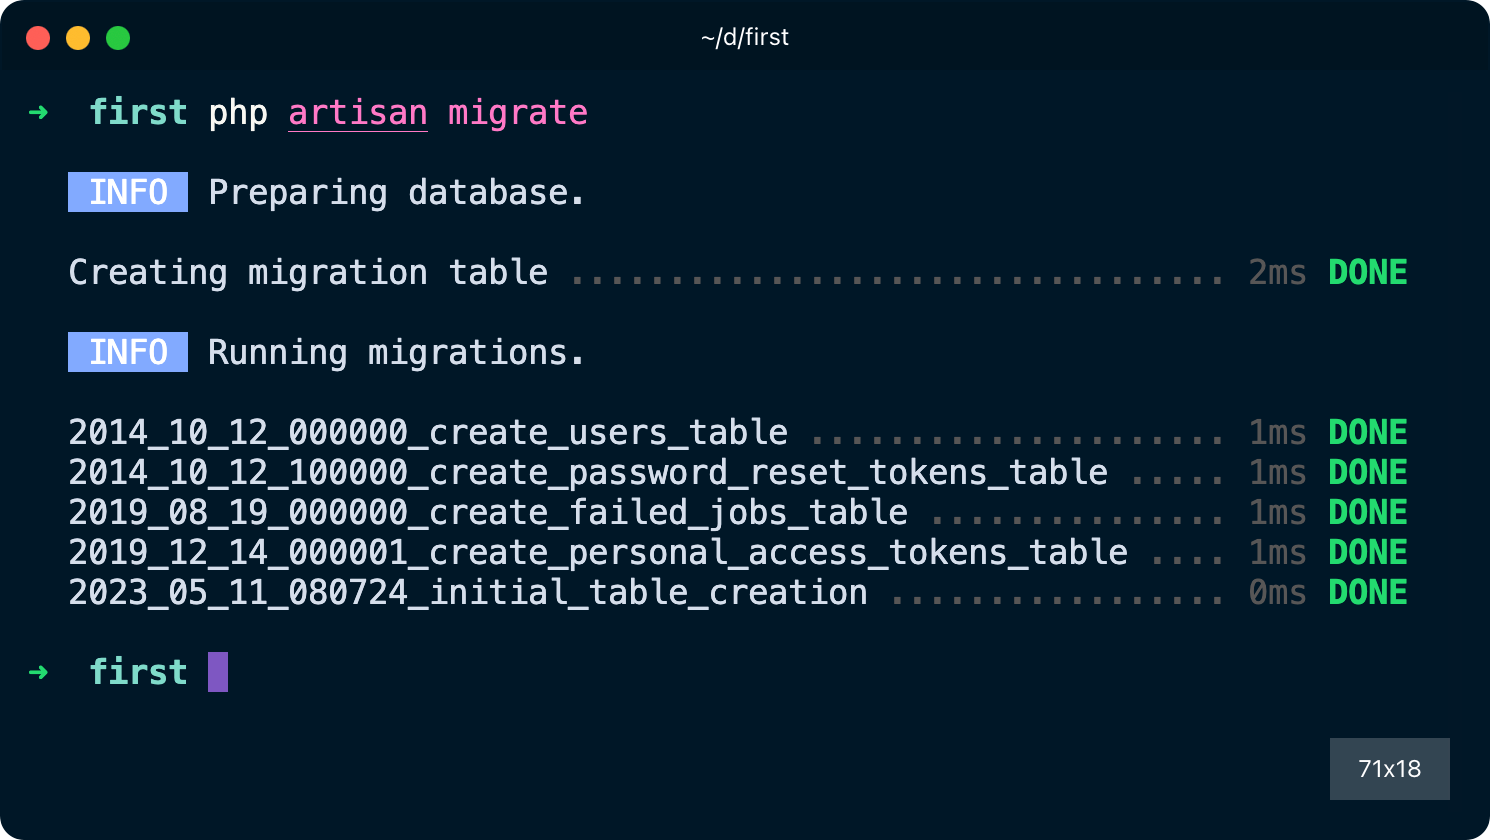
Now from the terminal run the command
php artisan migrate
And Laravel will apply the migrations that have not been applied yet, which at this point means all the migrations you see in the migrations folder:
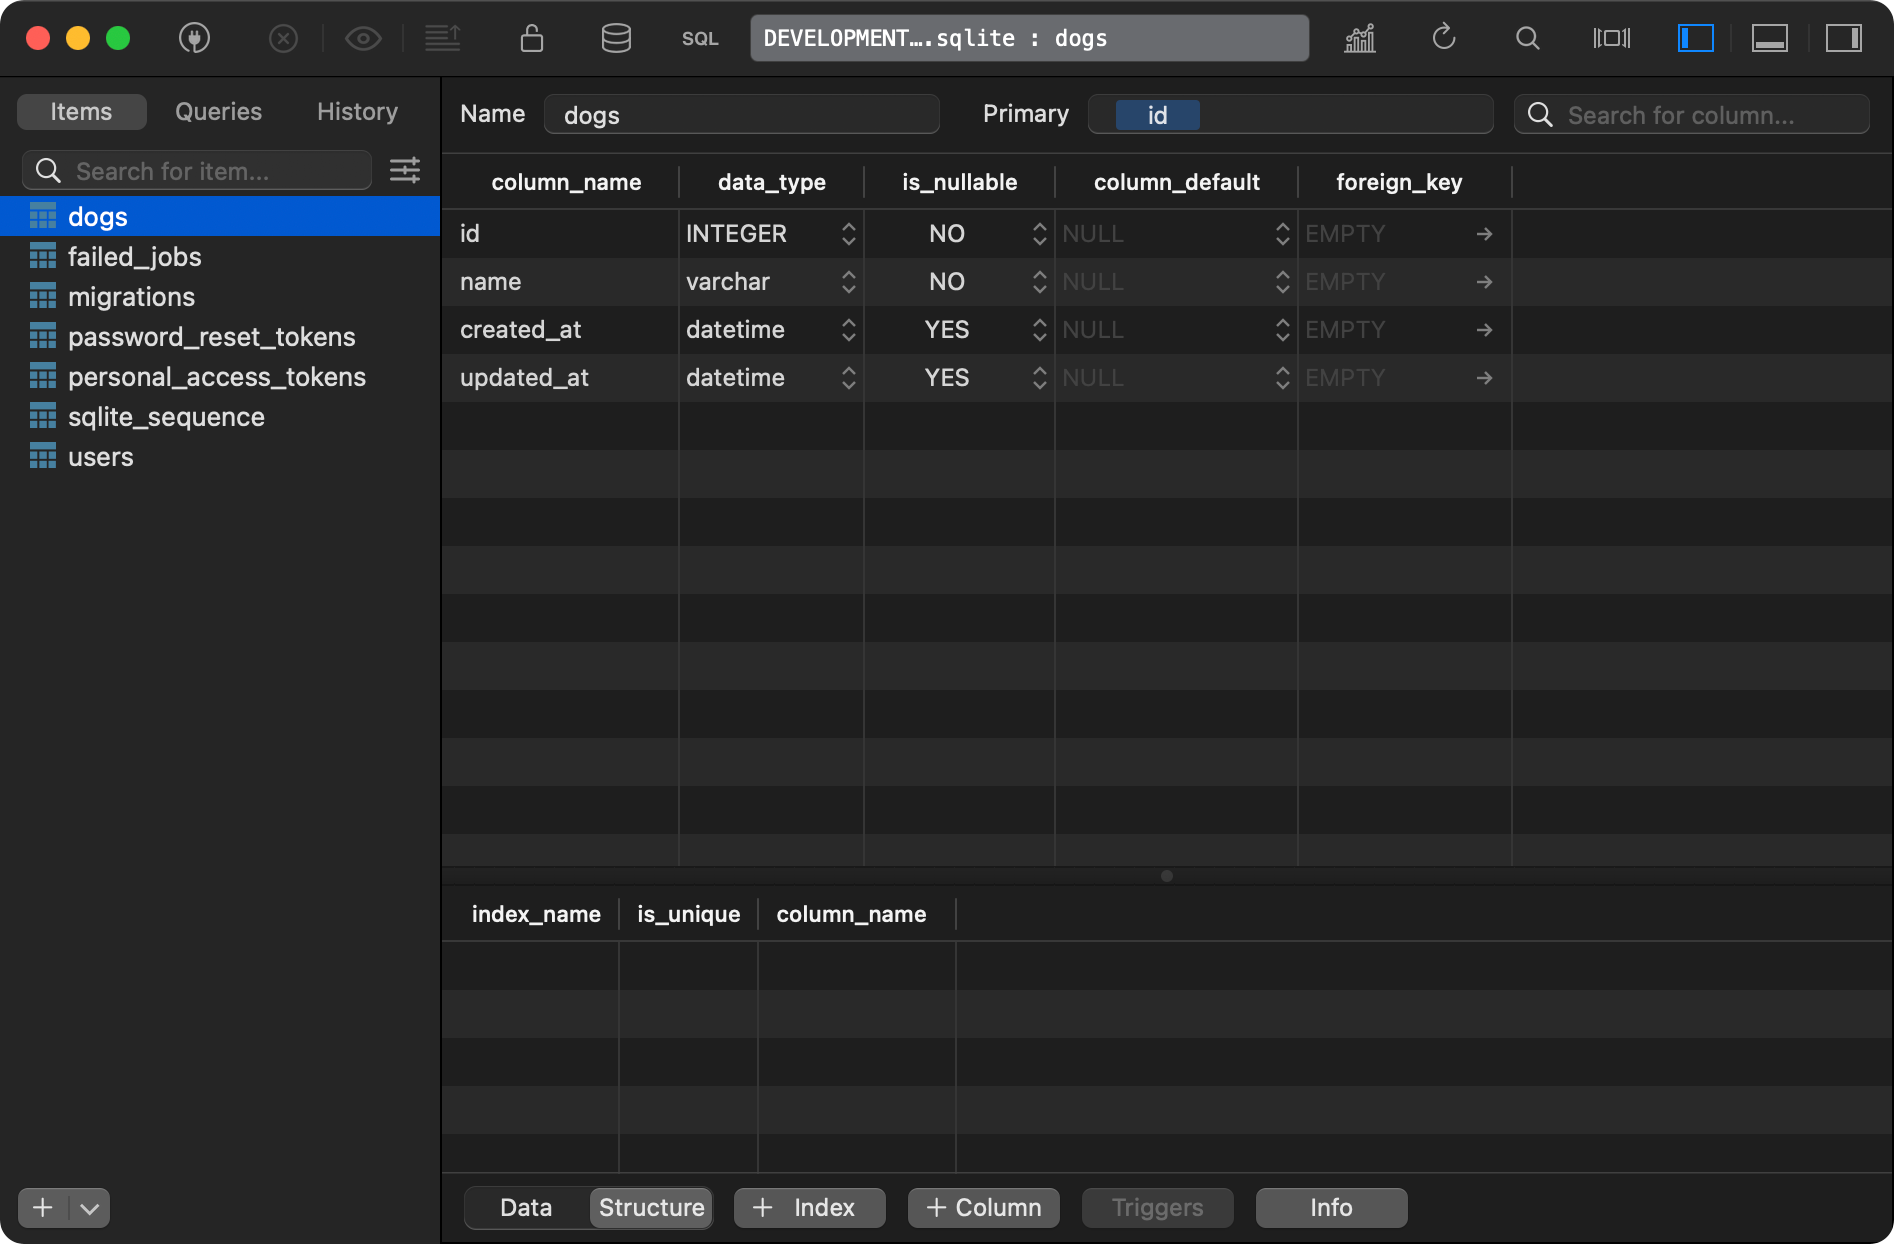
If you open the database/database.sqlite file using a database visualization tool like TablePlus (free version, available for all operating systems) you will see the newly created tables, including the one we defined:
If you do a mistake in a migration, you can rollback any change in a migration using
php artisan migrate:rollback
and this rolls back the latest changes you did to the database.
Find more about migrations on the official migrations guide.
Here is how can I help you:
- COURSES where I teach everything I know
- CODING BOOTCAMP cohort course - next edition in 2025
- BOOKS 16 coding ebooks you can download for free on JS Python C PHP and lots more
- Follow me on X